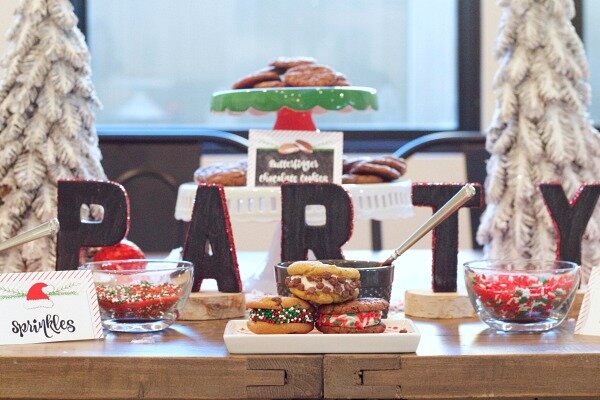
Whoopie Pie Party
This shop has been compensated by Collective Bias, Inc. and its advertiser. All opinions are mine alone. #BakeHolidayGoodness #CollectiveBias
Just one day shy of December and we are already chomping at the bit to start the Christmas celebrations in our home! According to Facebook we aren't the only ones, so I put together a fun activity that you can do as a family or bring all your friends together to enjoy. My family has a major sweet tooth (well except for my ultra healthy husband) so when cookies, frosting and candy come together in the perfect Whoopie Pie it makes for the perfect dessert. The only thing that can make a Whoopie Pie even better is partying with all our friends and family. This DIY Whoopie Pie party was so fun and easy, I'll show you how!


With a quick trip to Walmart for groceries, a few pieces of my favorite Christmas decor and a little crafting we put together a fun party with some friends. I've gathered printables, an easy decor craft and yummy recipes for a complete party you can DIY in a couple hours. With all the demands of life and family it's really hard to feel like you are a "balanced mom". I'm hoping these ideas and resources help you all feel a little more pulled together and balanced in your efforts to meet everyone needs and have a little fun.

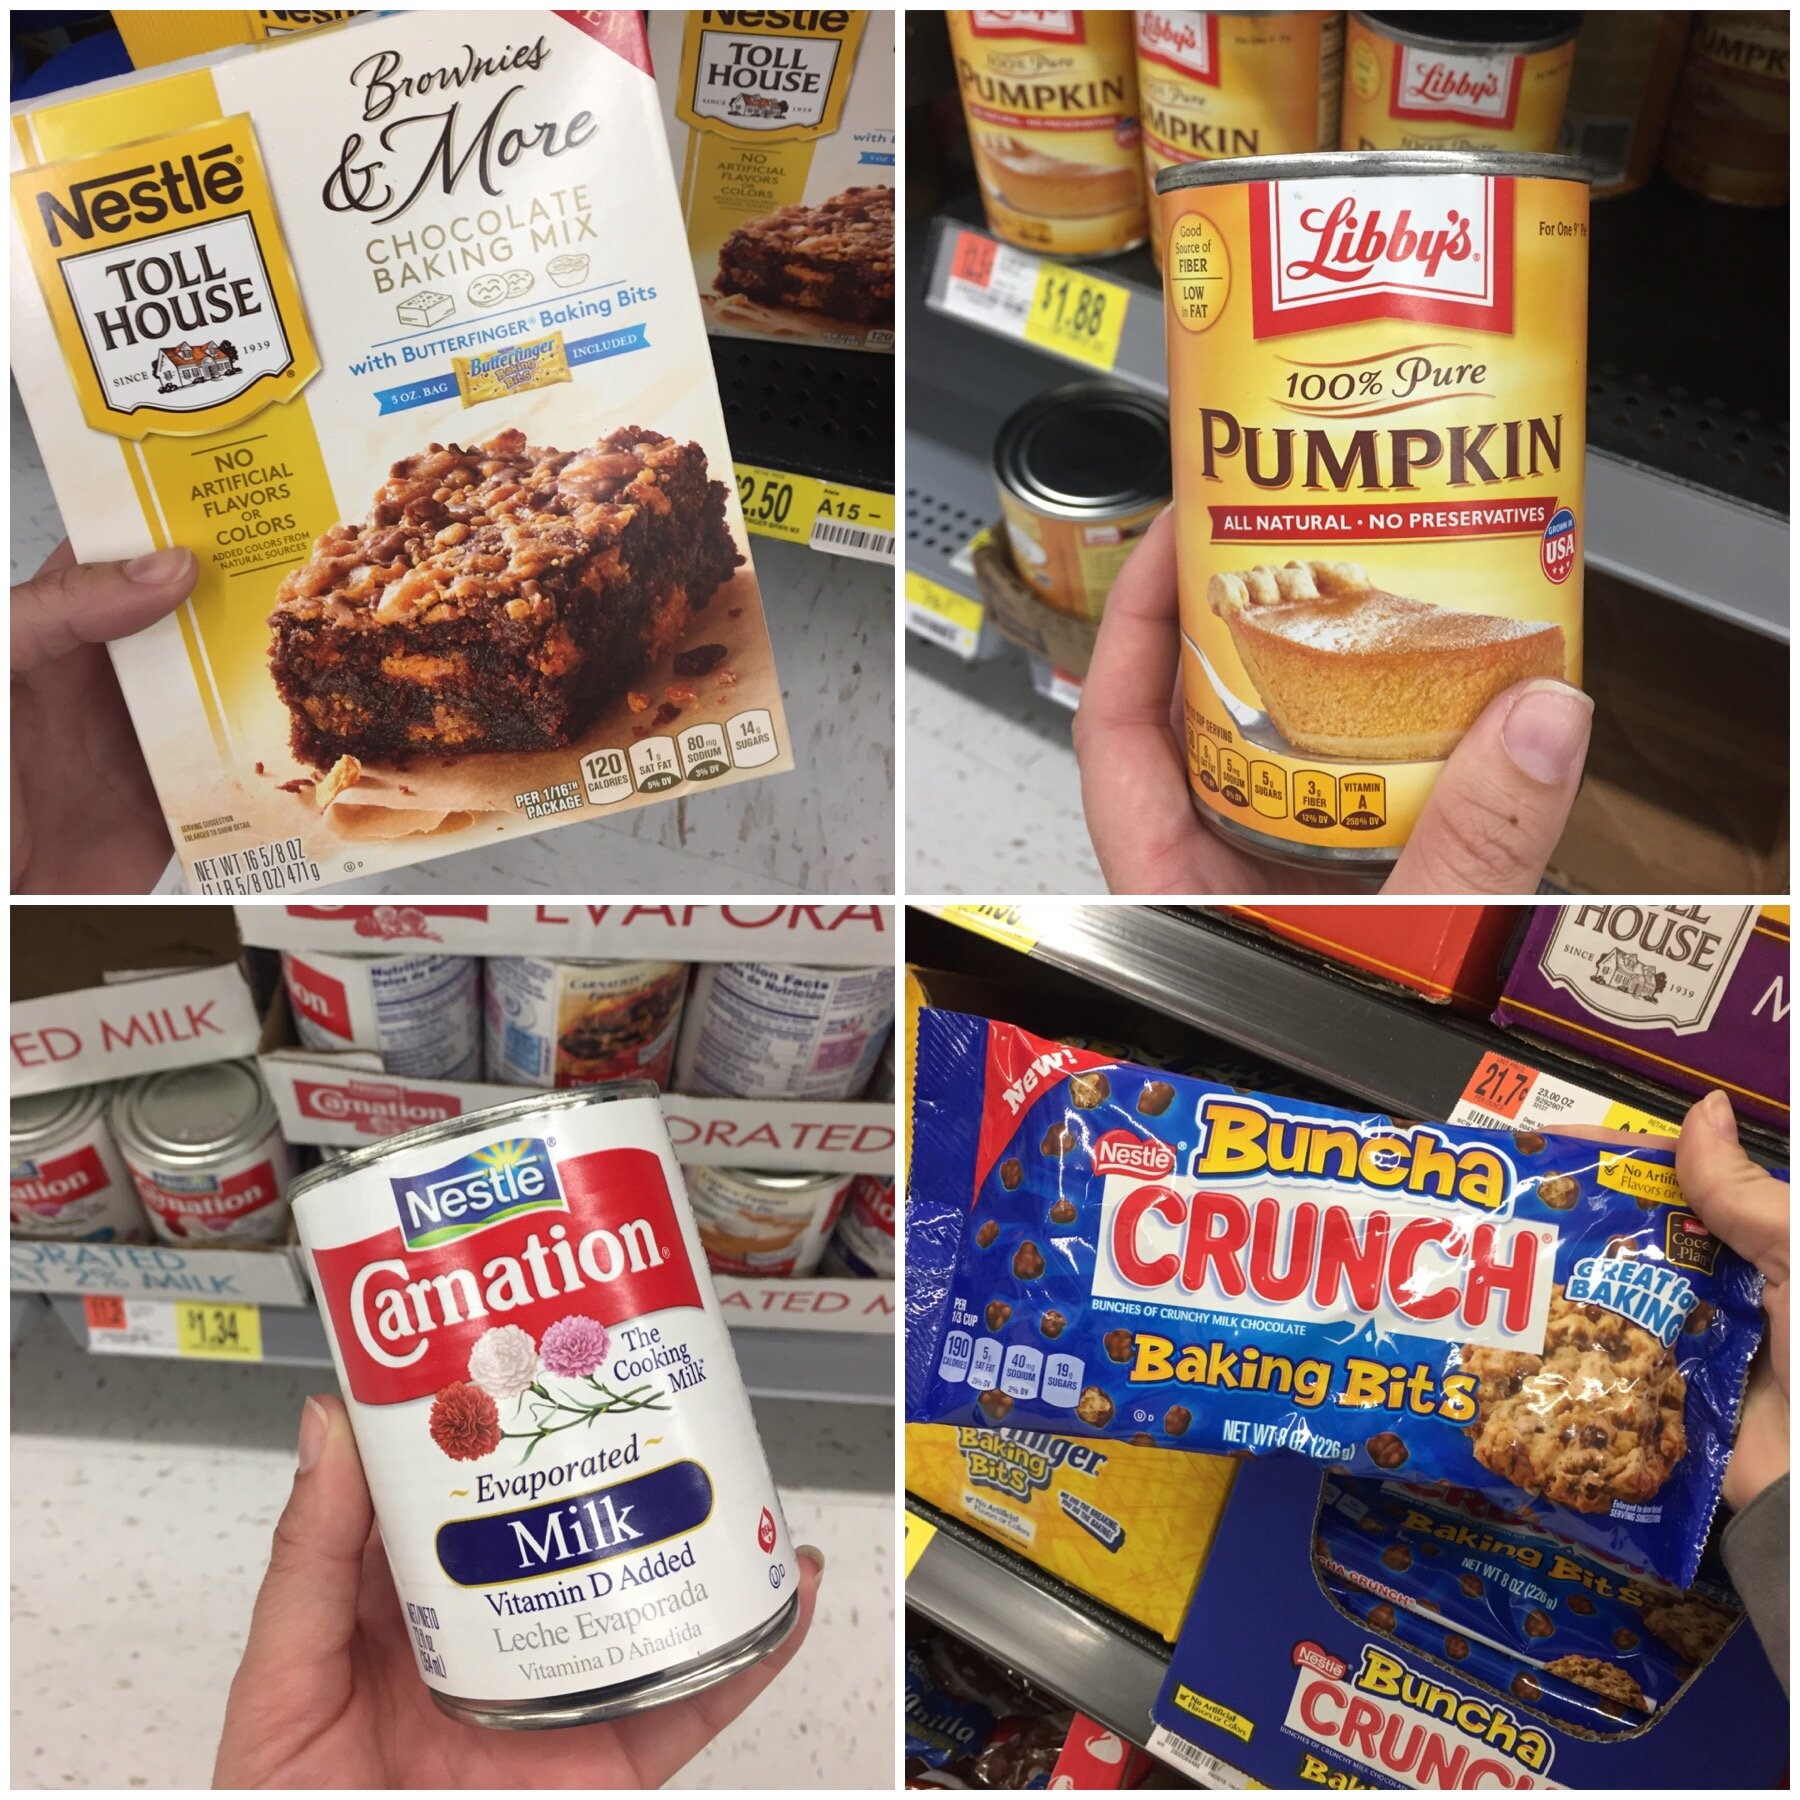
During the holidays we always have some baking staples in our pantry. When you shop at Walmart for your party make sure to grab these favorites of ours: NESTLÉ® TOLL HOUSE® Brownies & More, NESTLÉ® TOLL HOUSE® Semi-Sweet Chocolate Morsels, NESTLÉ® BUNCHA CRUNCH® Baking Bits, NESTLÉ® CARNATION® Evaporated Milk, Libby’s® 100% Pure Pumpkin, NESTLÉ® TOLL HOUSE® Holiday Chocolate Chip Cookie Dough, Libby’s® Pumpkin Bread Kit.
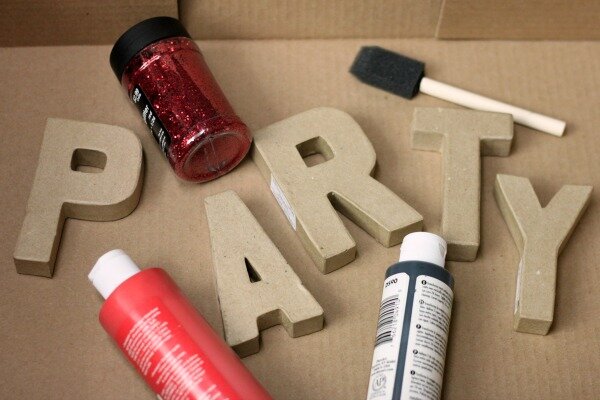
While you are busy baking (we will get to that) you can be working on this super cute glitter and chalkboard Party sign. I grabbed these cute little paper mache letters from the craft store along with some glitter and paint.
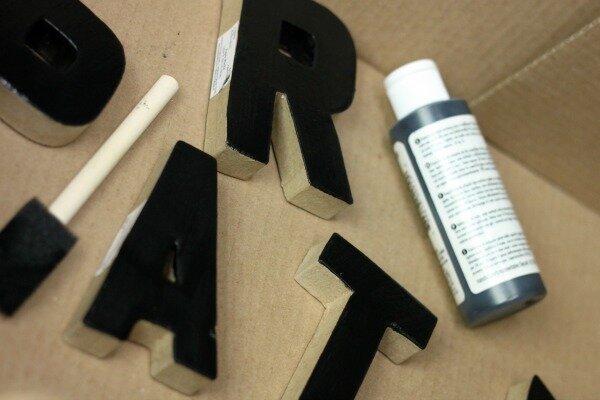
Start off with 2 coats of chalkboard paint on the front side of each letter. Let the coats dry really good in between and after. This is important since you only want glitter on the sides.
Next remove the paper price tags and apply a generous coat of red paint to the edges of each letter. Sprinkle glitter over the wet paint and let dry.
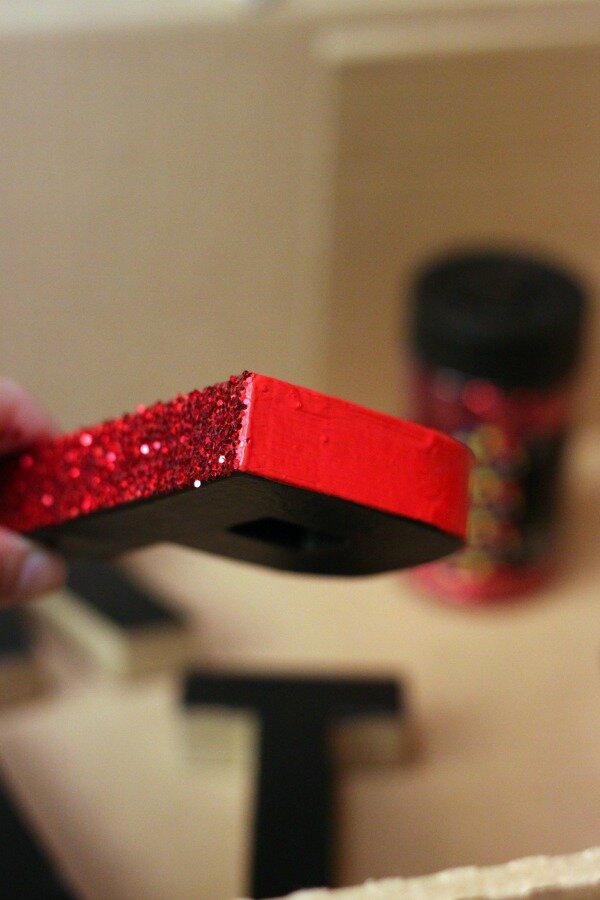
Once the entire letters are dry rub some chalk on the front to give the "chalkboard" effect. I set these up on some slices of birch to give them a little height and tie in the other wood elements of the party.

I baked 3 different kinds of cookies to give a good variety: Chocolate chip, Brownie Butterfinger and these amazing Pumpkin cookies. The best part about these cookies is that you don't have to bake them from scratch! The NESTLÉ® TOLL HOUSE® Holiday Chocolate Chip Cookie Dough can be found in the refrigerated section of your store and the other 2 cookies were make from the NESTLÉ® TOLL HOUSE® Brownies & More Mix and Libby’s® Pumpkin Bread Kit. I'll tell you in a minute how to use the Bread Kit to make the most amazing, soft and chewy pumpkin cookies!
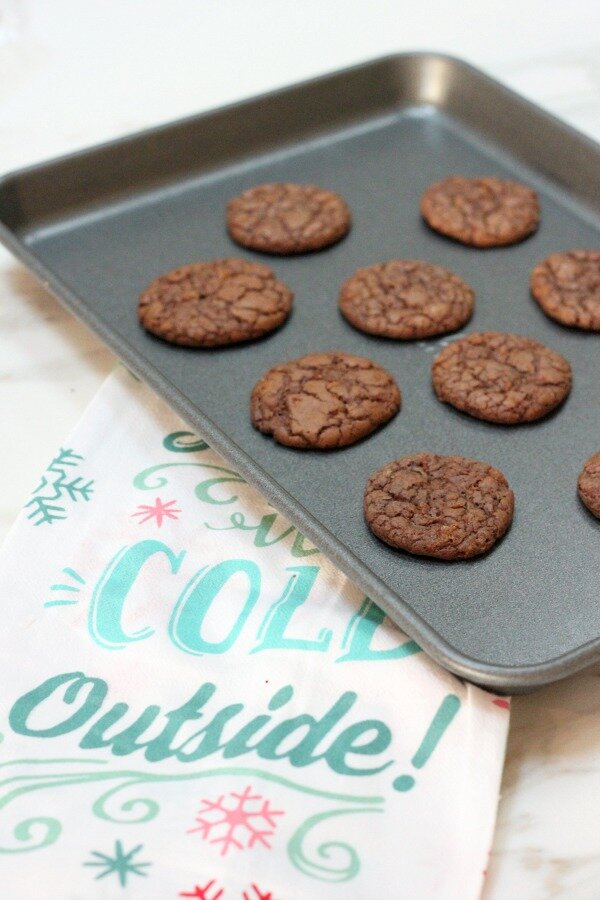

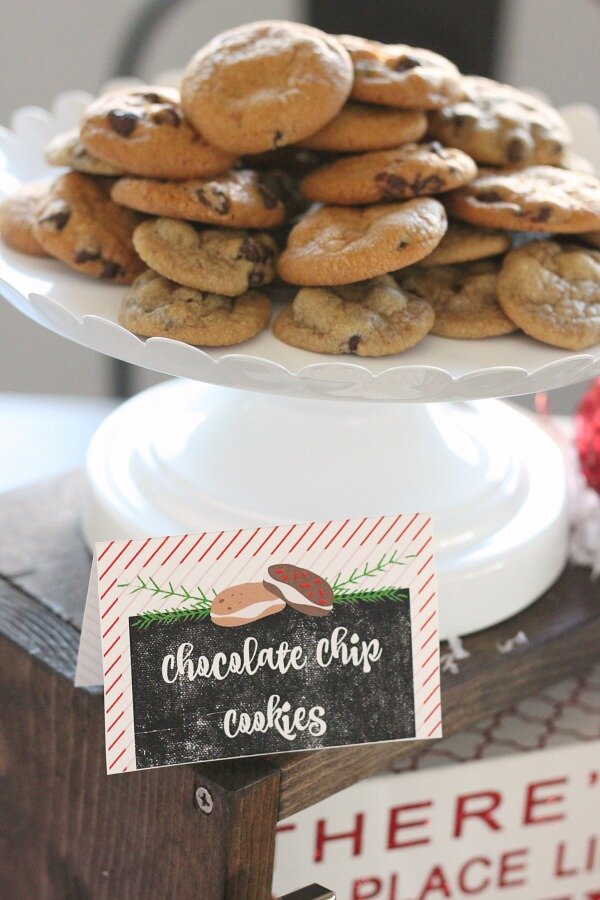
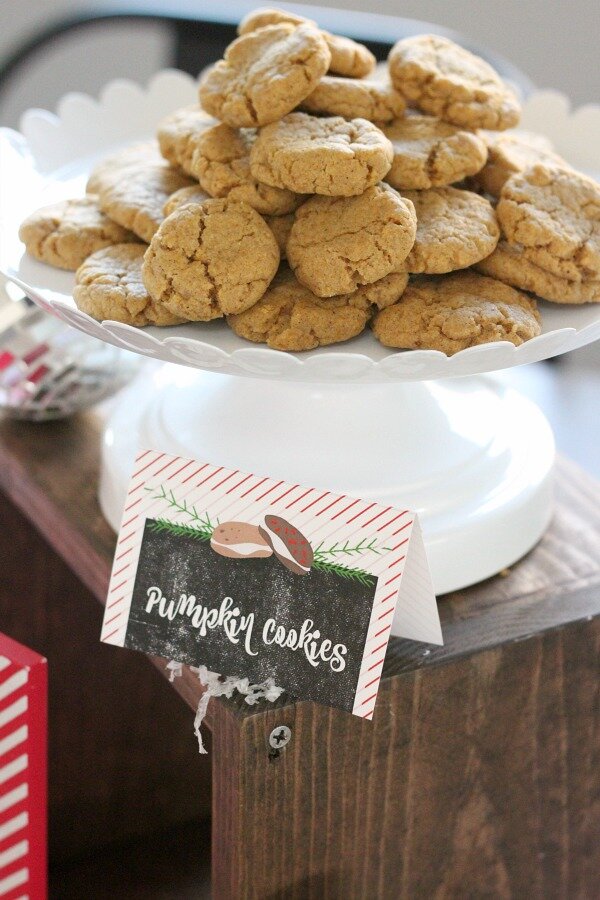
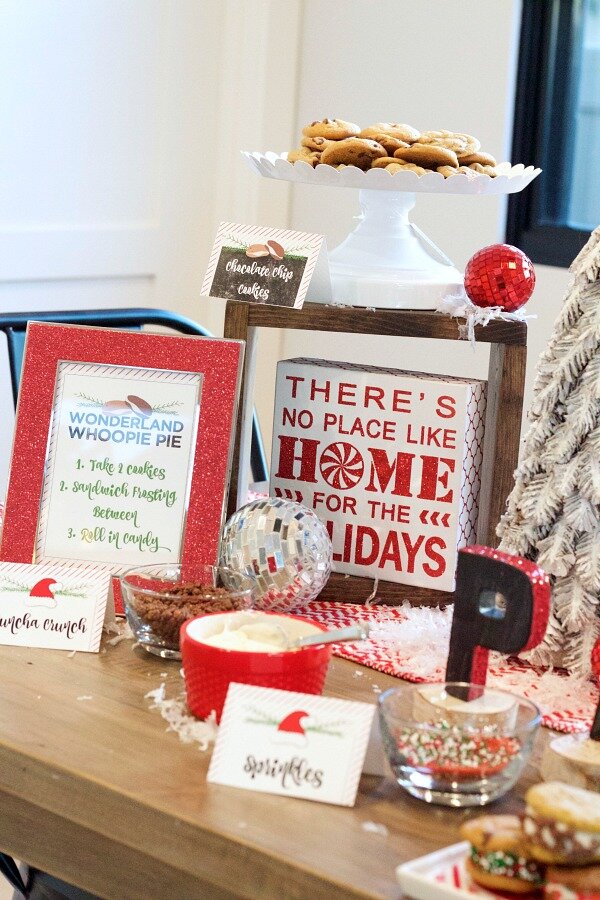

Since we had 3 kinds of cookies I had to have 3 kinds of frosting. This is another secret I usually keep to myself, but I'll spill it just for you guys. I buy canned frosting and mix in ingredients to add flavor. I used half a can of cream cheese frosting and mixed in 1/8 teaspoon of cinnamon and a tablespoon of Libby’s® 100% Pure Pumpkin to go with the Pumpkin cookies. Then I took the other half of the cream cheese frosting and mixed in a tablespoon of peanut butter to go with the yummy Chocolate Butterfinger cookies. To make life easier I served plain chocolate frosting with the chocolate chip cookies. Everyone will rave about these frosting "recipes" and you get to be the star.
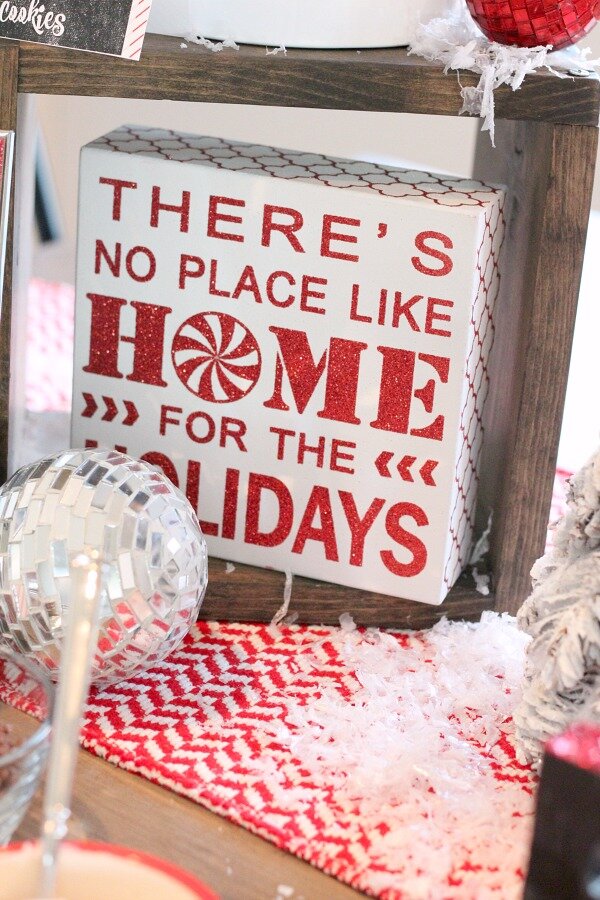
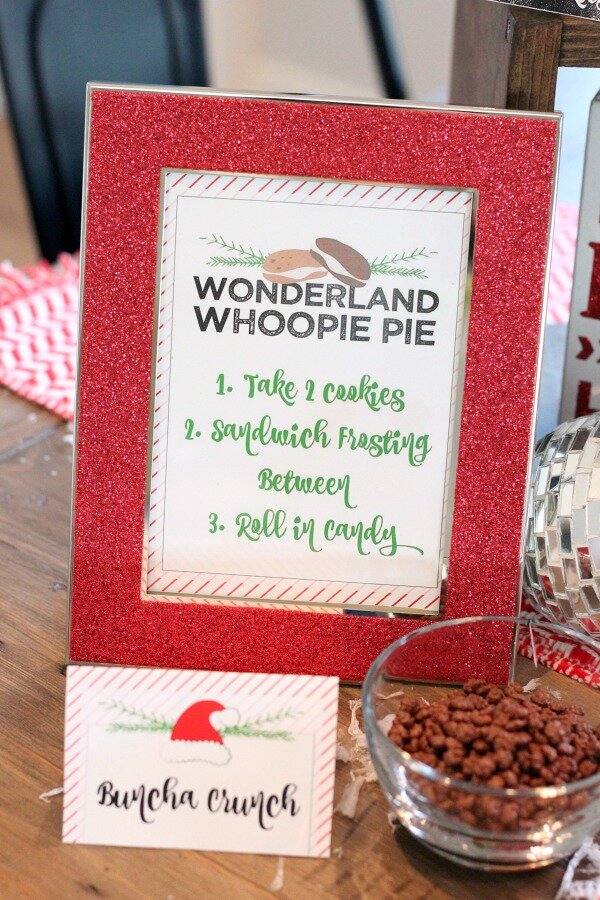
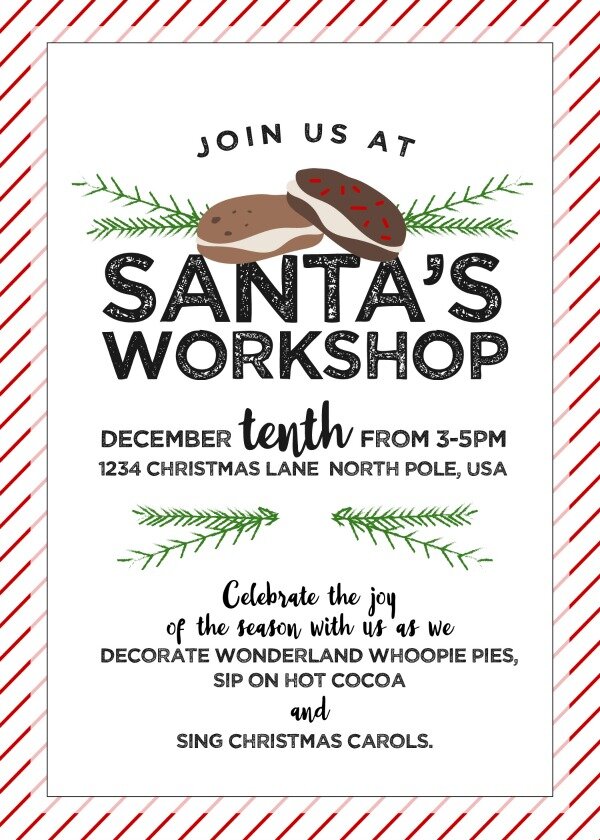
I am a big fan of outsourcing to save time and frustration so I usually try to buy my party printables. My favorite shop to work with is Madison Design Studio and Allison was sweet enough to create this party package just for my readers! It comes with this cute instruction sign, invitation and tent cards for food labels and it's only $5!
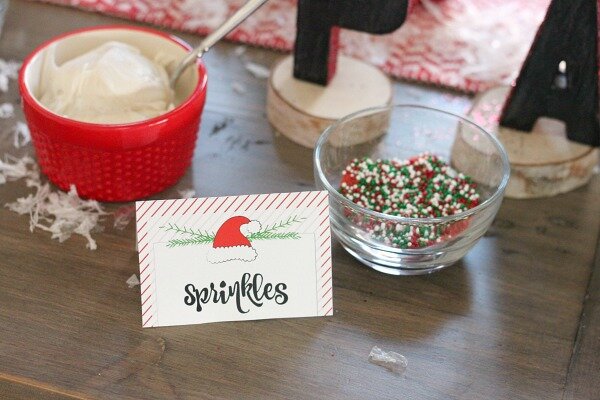
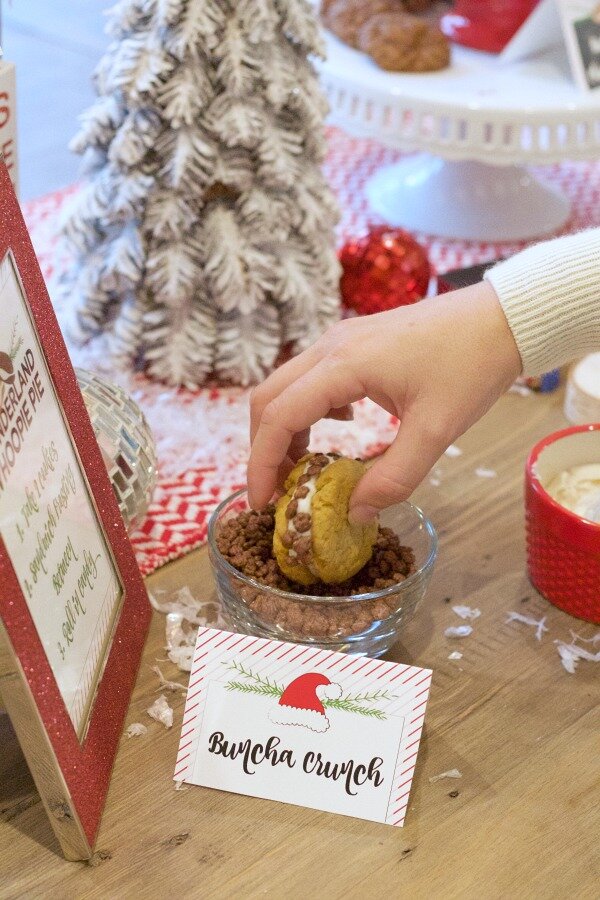
Once we assembled our whoopie pies we rolled them in Buncha Crunch Baking Bits, Mini Semi Sweet Morsels and fun holiday sprinkles.

We let the kids make these cute little cookie totes out of paper plates that they decorated with stickers. These make great neighbor gifts for you extra goodies you have left over.

Remember those soft and chewy Pumpkin cookies I mentioned earlier? Let's talk about how incredibly easy they are to throw together!
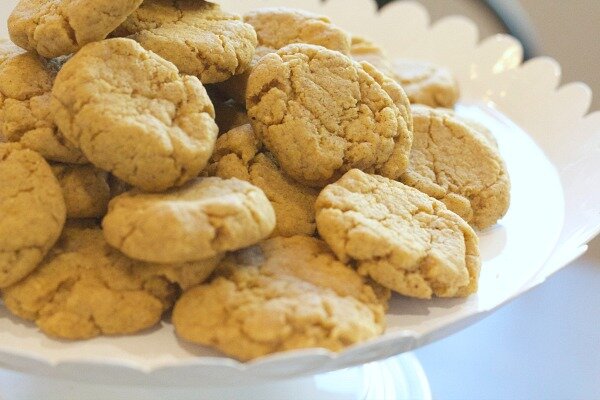
Easy Pumpkin Whoopie Pie Cookies
Ingredients: Libby's Pumpkin Bread Kit | 1/2 c melted butter | 1 egg
Instructions: mix ingredients together, roll into 1 inch balls and bake on 350 degrees for 10 minutes

For even more fun ideas on how to use these NESTLÉ® goodies check out their Pinterest board HERE.
